
티스토리 뷰
1. AWS Linux 서버 접속
관리 방식
- ~/.ssh/{pem} 키 저장
- pem 키를 사용한 ssh 접속
ssh -i ~/.ssh/{pem} {username}@{ip} -p {port}
2. Git 설치
sudo yum install git
+ Oh-My-Bash (편의를 위한 설정)
GitHub - ohmybash/oh-my-bash: A delightful community-driven framework for managing your bash configuration, and an auto-update t
A delightful community-driven framework for managing your bash configuration, and an auto-update tool so that makes it easy to keep up with the latest updates from the community. - ohmybash/oh-my-bash
github.com
bash -c "$(curl -fsSL https://raw.githubusercontent.com/ohmybash/oh-my-bash/master/tools/install.sh)"
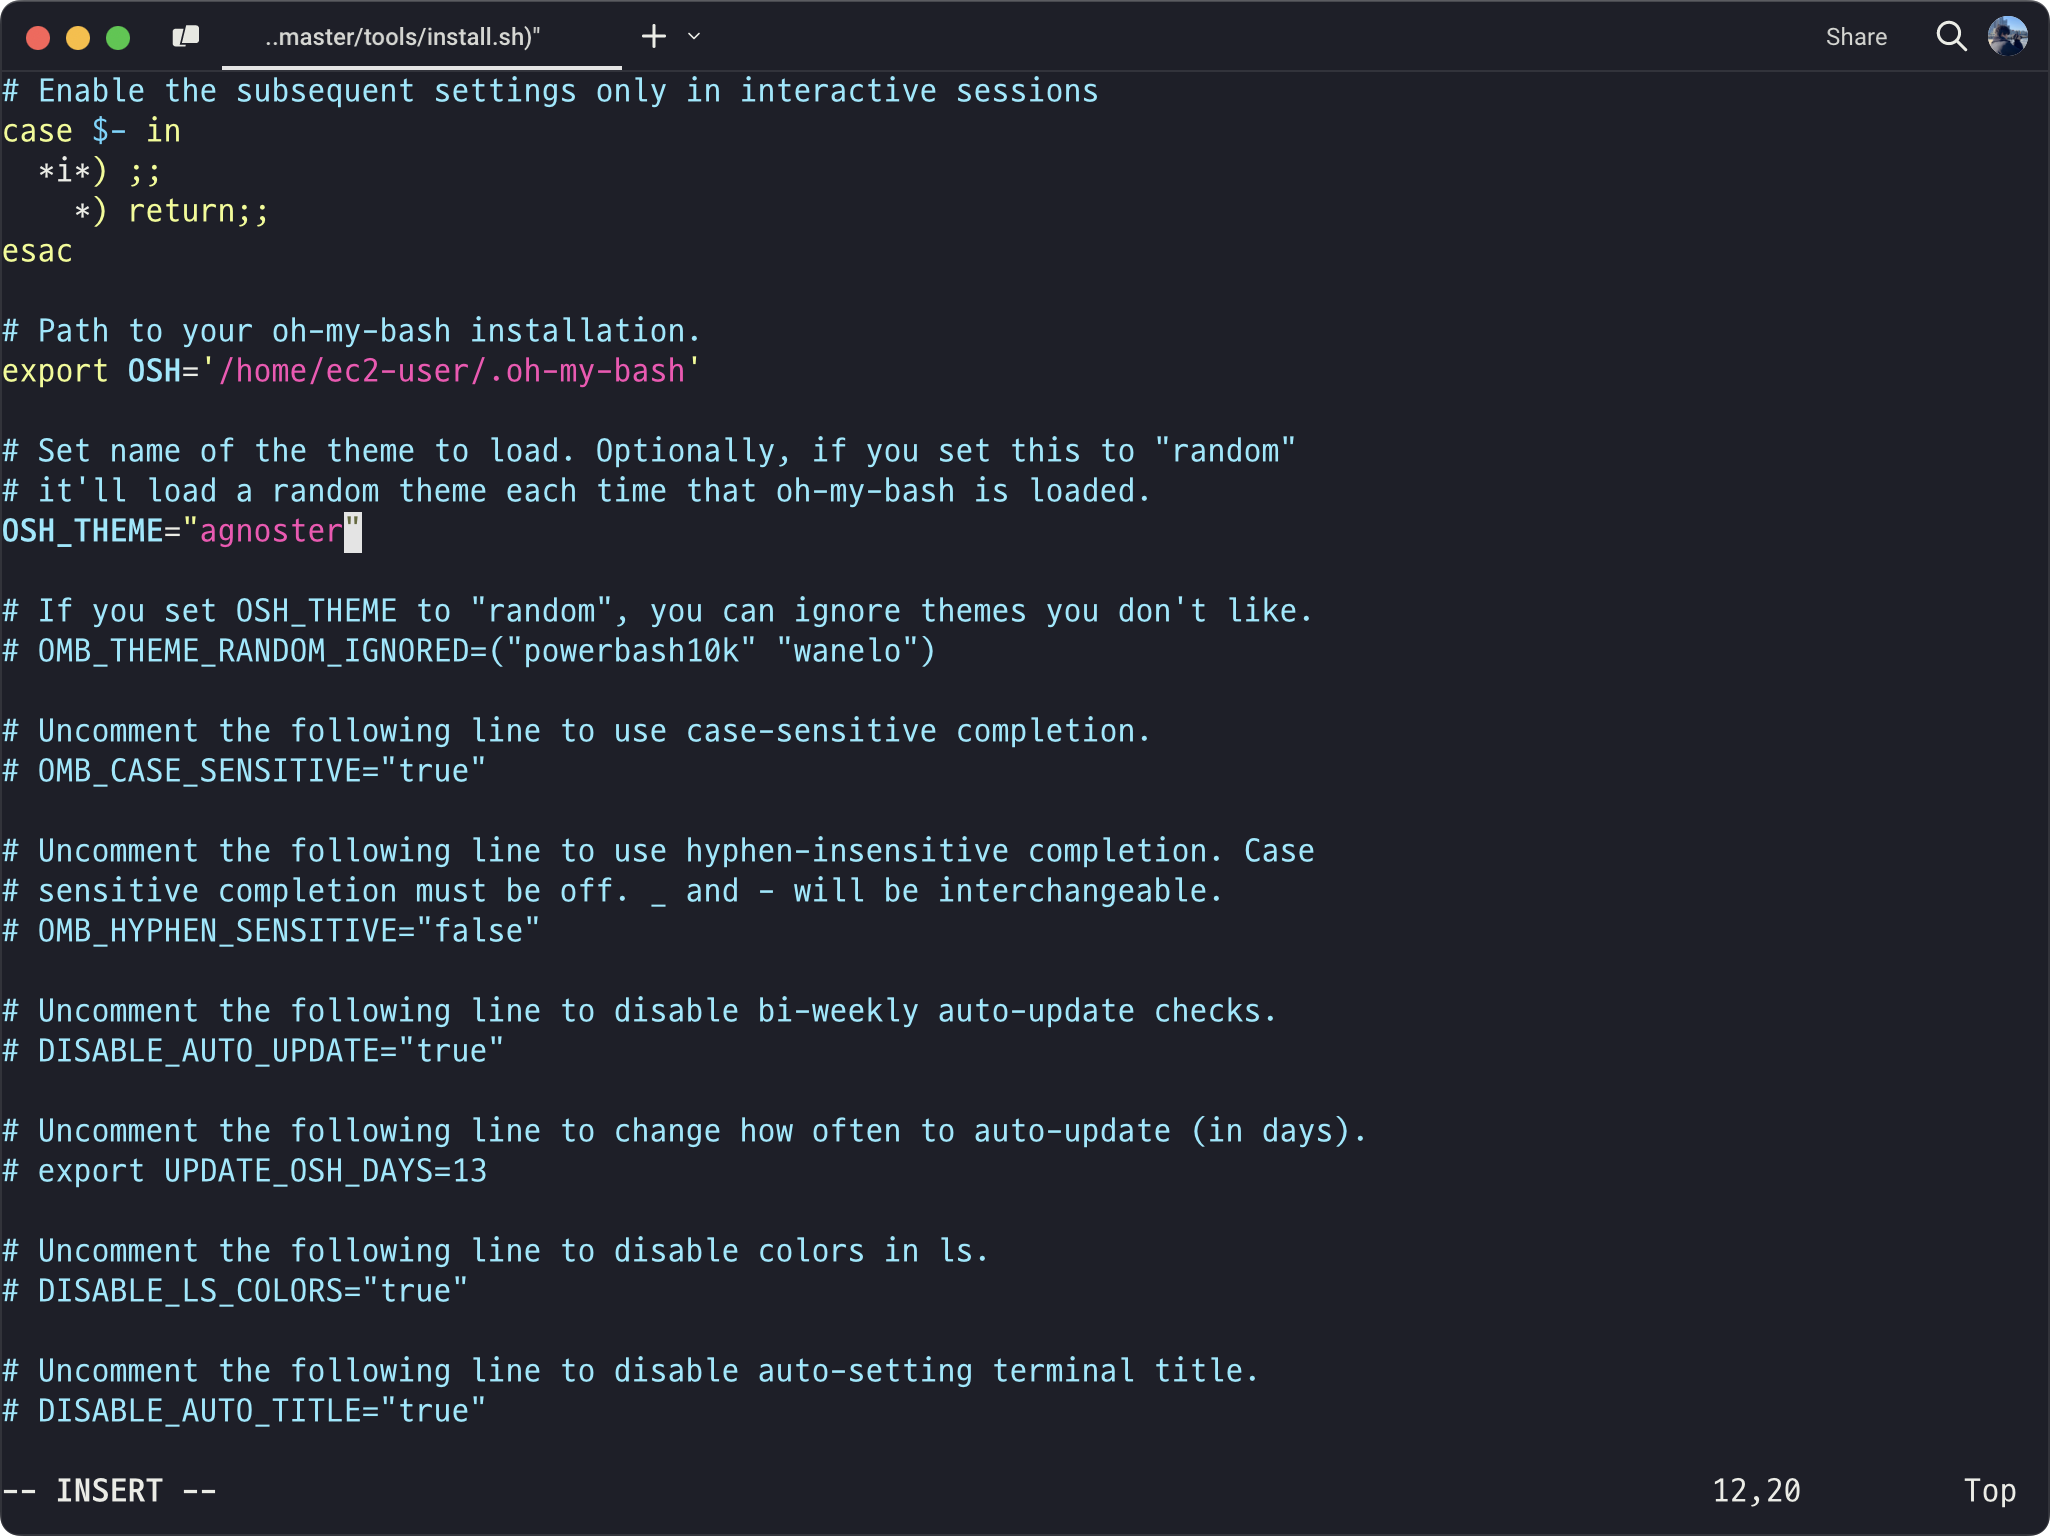
- Theme
vi .bashrc
OSH_THEME="agnoster"
- Profile 표시(PS1) 변경
vi ~/.oh-my-bash/themes/agnoster/agnoster.theme.sh# Context: user@hostname (who am I and where am I)
function prompt_context {
local user=$(whoami)
if [[ $user != $DEFAULT_USER || -n $SSH_CLIENT ]]; then
prompt_segment black default "$user" # -------- @\h 삭제
fi
}
# prints history followed by HH:MM, useful for remembering what
# we did previously
function prompt_histdt {
prompt_segment black default "\! [\A]"
}

- Session명 표시
# 함수 추가
### session prompt
function prompt_session {
   SESSION=($(echo $STY | tr "." " "))
   prompt_segment blue white "${SESSION[1]}"
}

...

function build_prompt {
  [[ ! -z ${AG_EMACS_DIR+x} ]] && prompt_emacsdir
  prompt_status
  #[[ -z ${AG_NO_HIST+x} ]] && prompt_histdt
  [[ -z ${AG_NO_CONTEXT+x} ]] && prompt_context
  [[ -n $STY ]] && prompt_session # -------- $STY가 비어 있지 않으면 실행
  if [[ ${OMB_PROMPT_SHOW_PYTHON_VENV-} ]]; then
    prompt_virtualenv
    prompt_pyenv
    prompt_condaenv
  fi
  prompt_dir
  prompt_git
  prompt_hg
  prompt_end
}

3. Java 21 설치
1) Java 설치 가능 리스트 조회
sudo yum list | grep java

2) Java 설치
sudo yum install -y java-21-amazon-corretto-devel.x86_64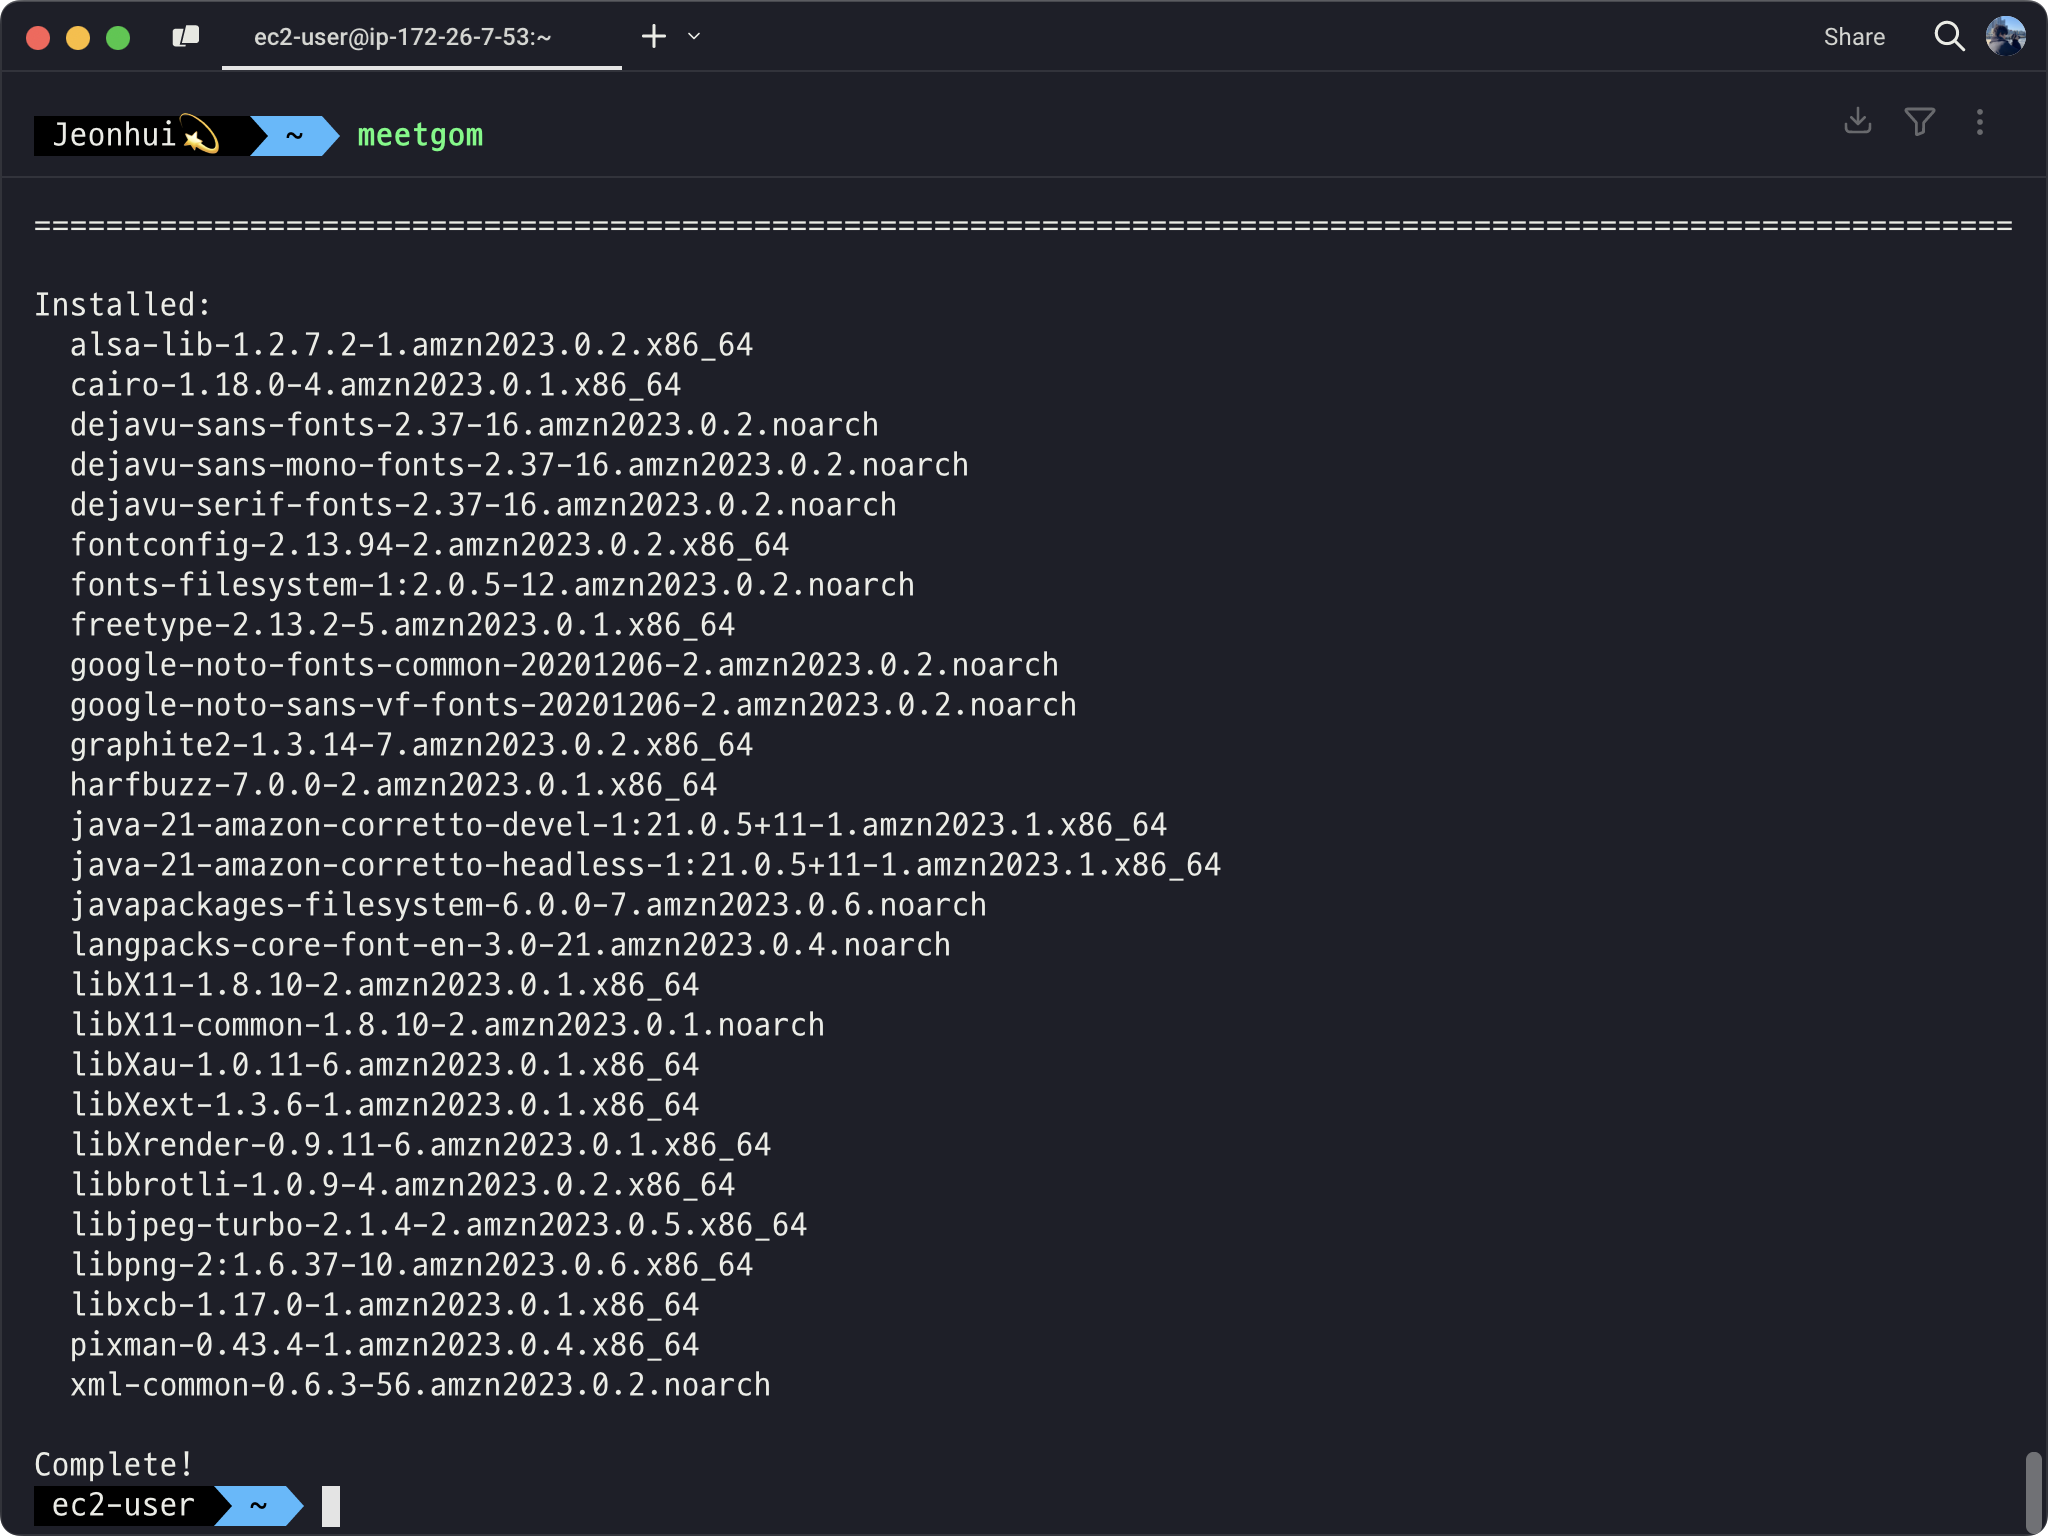
3) Java 설치 확인
java -version
4. Git SSH 설정
1) SSH 키 생성
ssh-keygen
2) Github SSH 키 등록
키 등록 위치
Settings > SSH and GPG keys

키 확인
cat ~/.ssh/id_rsa.pub
키 등록

5. nginx
1) nginx 설치 및 실행
sudo yum install -y nginx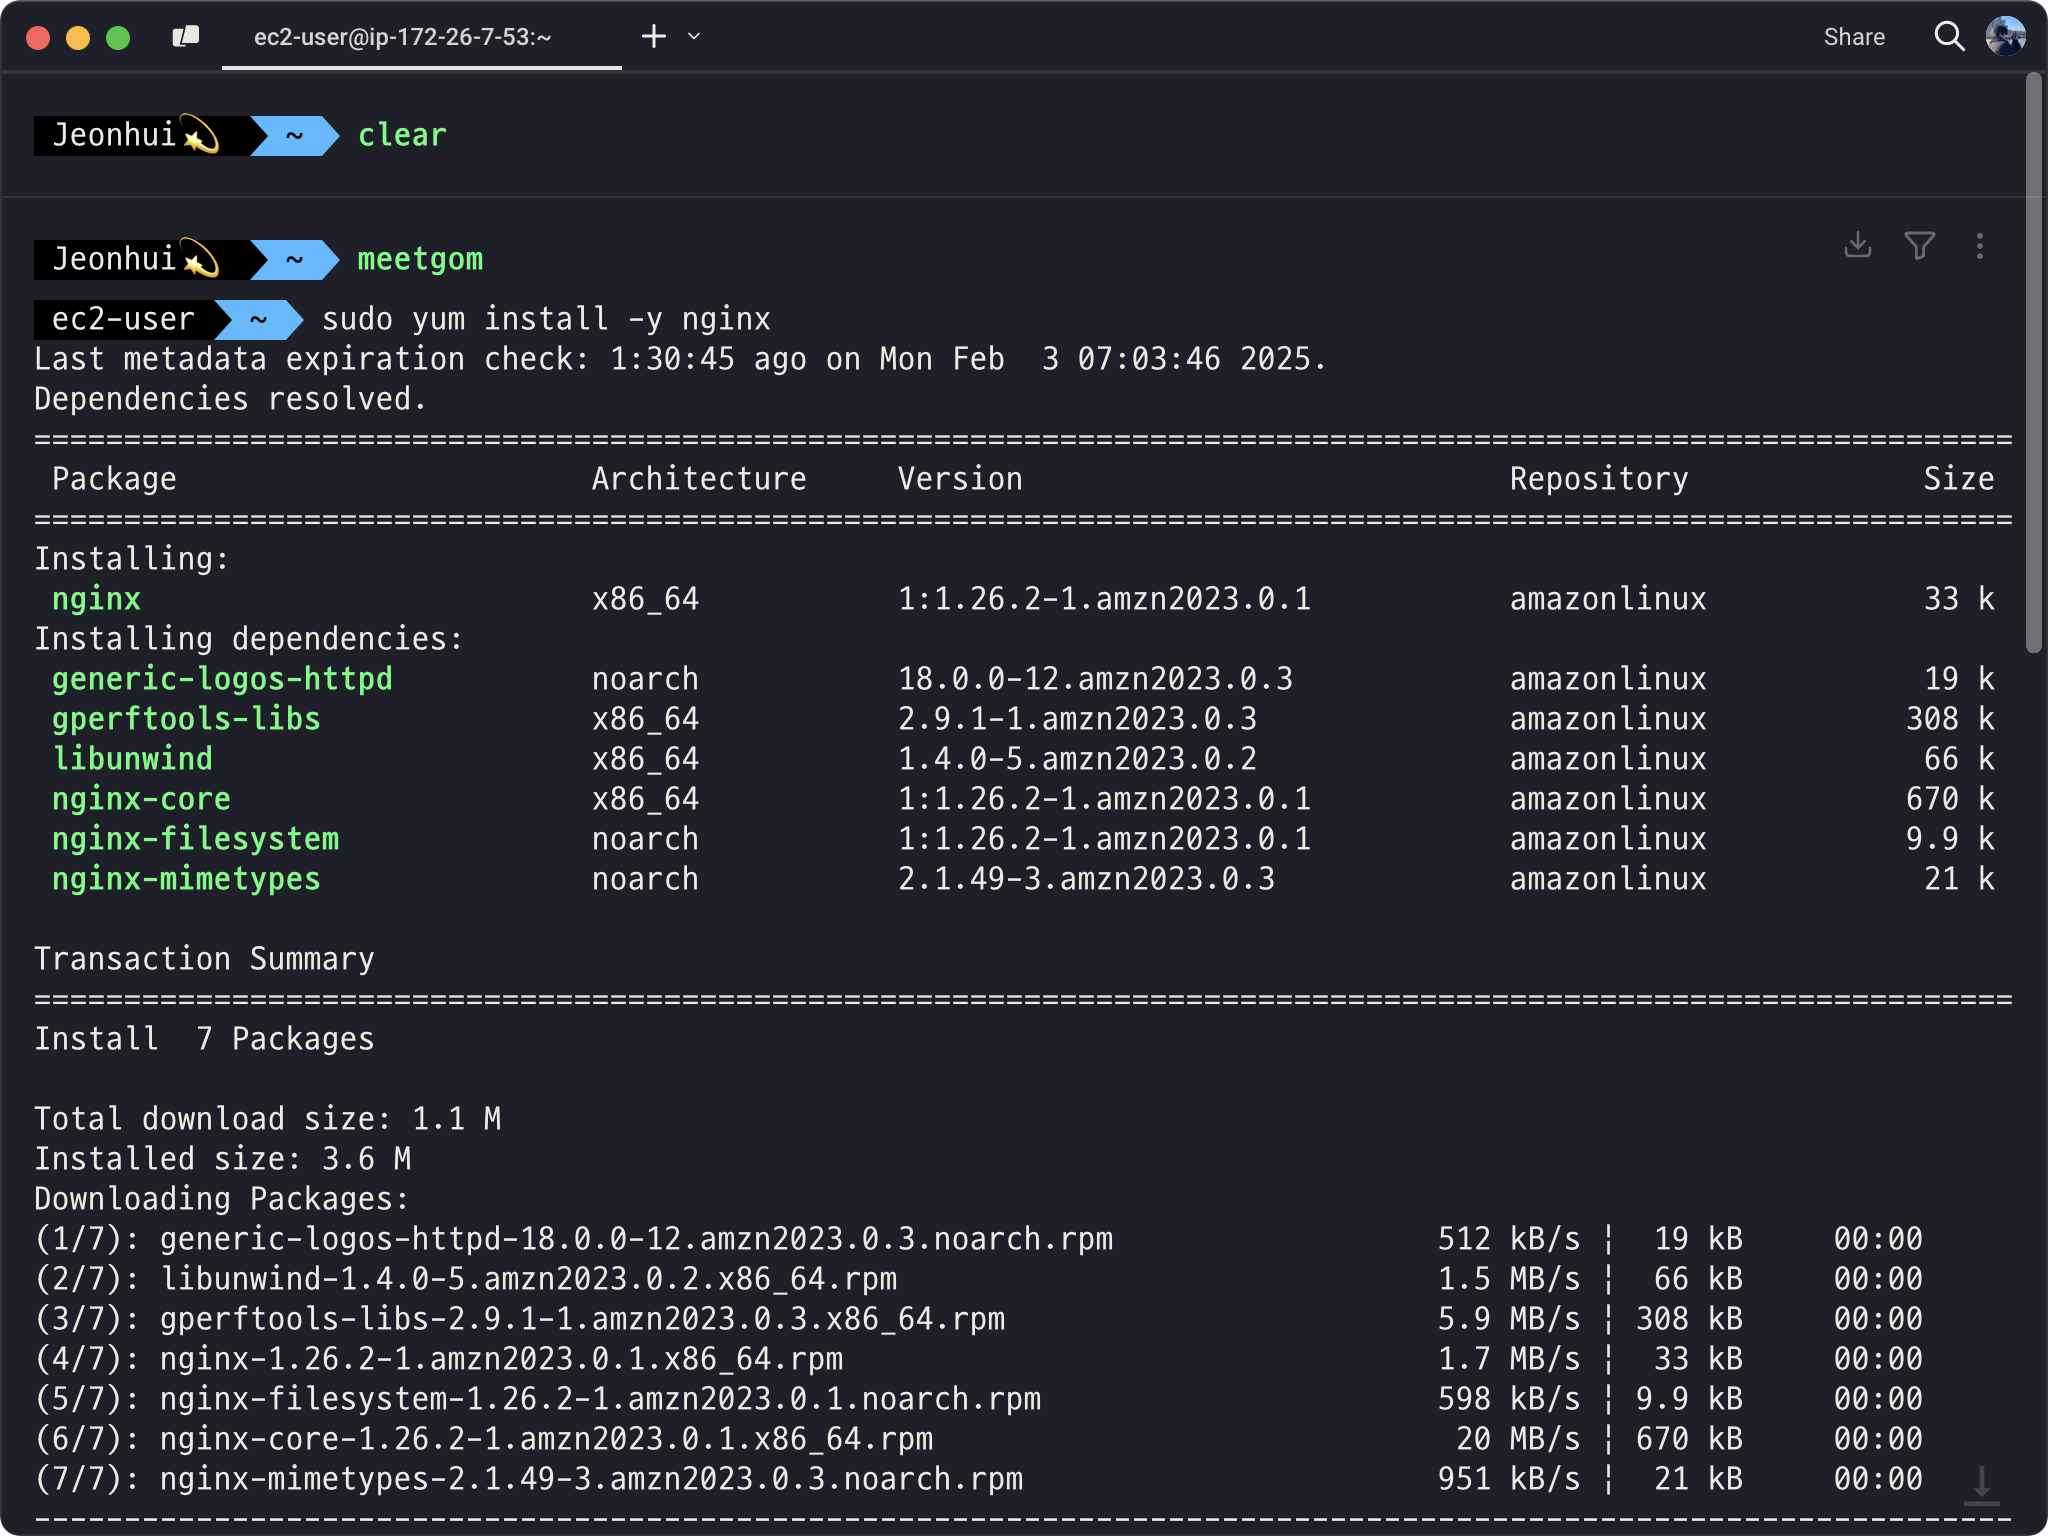
실행
sudo service nginx start
상태 확인
sudo service nginx status

2) 포트포워딩
80 to 8080
sudo vi /etc/nginx/nginx.conf
server {
        listen       80;
        listen       [::]:80;
        server_name  _;
        root         /usr/share/nginx/html;

        # Load configuration files for the default server block.
        include /etc/nginx/default.d/*.conf;

       	## (추가) 80포트의 모든 경로에 대해 8080으로 포트 포워딩
        location / {
        proxy_set_header HOST $host;

        proxy_pass http://127.0.0.1:8080;

        proxy_redirect off;
        }
        ## ---

        error_page 404 /404.html;
        location = /404.html {
        }

        error_page 500 502 503 504 /50x.html;
        location = /50x.html {
        }
    }
6. maria DB
1) maria 설치 가능 리스트 조회
yum list | grep -i mariadb*
2) maria 설치
sudo yum install mariadb105-server.x86_64
3) maria 시스템 등록 및 실행
sudo systemctl enable mariadb
sudo systemctl start mariadb
4) root 비밀번호 변경
sudo mysqladmin -u root -p password
5) 접속 확인
mysql -u root -p
6) 프로젝트 데이터 베이스 생성
CREATE DATABASE {DB Name} default CHARACTER SET UTF8;
7) 프로젝트 관리 유저 생성 및 권한 부여
CREATE USER "{username}"@"%" IDENTIFIED BY "{password}";GRANT ALL PRIVILEGES ON {DB Name}.* TO '{username}'@'%';
FLUSH PRIVILEGES;권한 확인
SHOW GRANTS FOR {username}

7. Spring Server (Git SSH Clone)
1) Git SSH Clone

2) 필요 파일 전송 (SCP)

3) Build
./gradlew build -x test
8. Spring Server 배포
1) 세션 접속
screen -R {session name}
2) 배포
java -jar ./build/libs/meetgom-0.0.1-SNAPSHOT.jar
+ Spring Docs Https 설정
application.properties
...
server.forward-headers-strategy=framework
...
+자동화를 위한 Shell Script 작성 및 Cron 설정
자동화를 위한 쉘스크립트
https://gist.github.com/Jeonhui/75cad389fc1ab07d1c1ca5316e12ae79#file-launch-sh
backend ci/cd
backend ci/cd. GitHub Gist: instantly share code, notes, and snippets.
gist.github.com
- git pull시, 변경 사항이 있는 경우 서버 재실행
Cron 설정
aws Linux에는 crontab이 설치되어 있지 않기 때문에 설치
sudo yum install cronie -y
등록 및 실행
sudo systemctl enable crond
sudo systemctl start crond
crontab 등록
매일 0시 0분 실행
0 0 * * * ~/launch.sh ${프로젝트} -s {세션명}
- Total
- Today
- Yesterday
- github push
- 스위프트 기초
- HIG 한글
- 전위 연산자
- wordle 사이트
- 리액트
- 파이썬
- 백준 문제
- Crawling
- 파이썬 깃허브 푸시
- Apple HIG
- 크롤링
- 데이터타입
- 스위프트
- SWiFT
- 깃허브 페이지 배포
- react
- 깃허브 푸시
- 후위 연산자
- 중위 연산자
- 깃허브 페이지
- 워들
- 프로젝트
- HIG 한글 번역
- 워들 사이트
- Python
- XCTest
- Github
- 사용자 정의 연산자
- 리액트 배포
| 일 | 월 | 화 | 수 | 목 | 금 | 토 |
|---|---|---|---|---|---|---|
| 1 | ||||||
| 2 | 3 | 4 | 5 | 6 | 7 | 8 |
| 9 | 10 | 11 | 12 | 13 | 14 | 15 |
| 16 | 17 | 18 | 19 | 20 | 21 | 22 |
| 23 | 24 | 25 | 26 | 27 | 28 |